Although I am not a “prepper” in the strict doomsday scenario sense of the word, I am intentional about being prepared in regard to my outdoor adventures. Being prepared was drilled into me by my Boy Scout leaders by both their example and instruction.
As a Boy Scout I enjoyed making my own survival kits. The challenge was to pack essential survival items into a metal Band-Aid box or a hinged Sucrets lozenge tin or, better yet, into a hand-sewn leather pouch. I still have one or two of these packed away in a box in my attic.
As a world traveler, I keep my international travel backpack packed and ready to go at all times. The only thing I add before a trip is a change of clothes in a pack-it folder just in case my luggage arrives at my destination after I do.
 I also keep my day hike hydration backpack ready to go at all times. The only thing I add before I hit the trail is my hydration bladder and trail snacks. You can see this pack on my back in all of my hiking photos. I don’t care how short a hike I am on, I strap this bag on every time.
As a fan of shows like “I Shouldn’t Be Alive,” I have noticed a common theme: folks heading out on a simple adventure ill-prepared only to have something unexpected happen that becomes life-threatening.
I prefer to err on the side of caution by carrying a little extra weight just in case. Not only just in case something unexpected happens to me, but just in case I come across someone on the trail who had something unexpected happen to them.
 So, here is a look at what I carry in my day hike hydration pack. Each of these items stays in my pack at all times. I do not borrow items from this pack to put in my other packs that I use for extended hikes or other outdoor adventures. I always want to know that the items I need to count on in an emergency will be in my pack if needed.
 Survival Kit | I picked up a lightweight survival kit at Academy that is packed with useful items, including an emergency blanket which can also be rigged for use as a shelter. I also carry a paracord bracelet for emergency cordage.
First Aid Kit | I consider this an essential no matter how short the distance I hike. I also carry a roll of waterproof first aid tape that can be used on hot spots on my feet or a blister.
Bivy Sack | I carry a bivy sack just in case I am forced to spend the night out on the trail. This super lightweight sleeping bag provides plenty of warmth. I also carry a compact little blanket in case I need extra warmth.
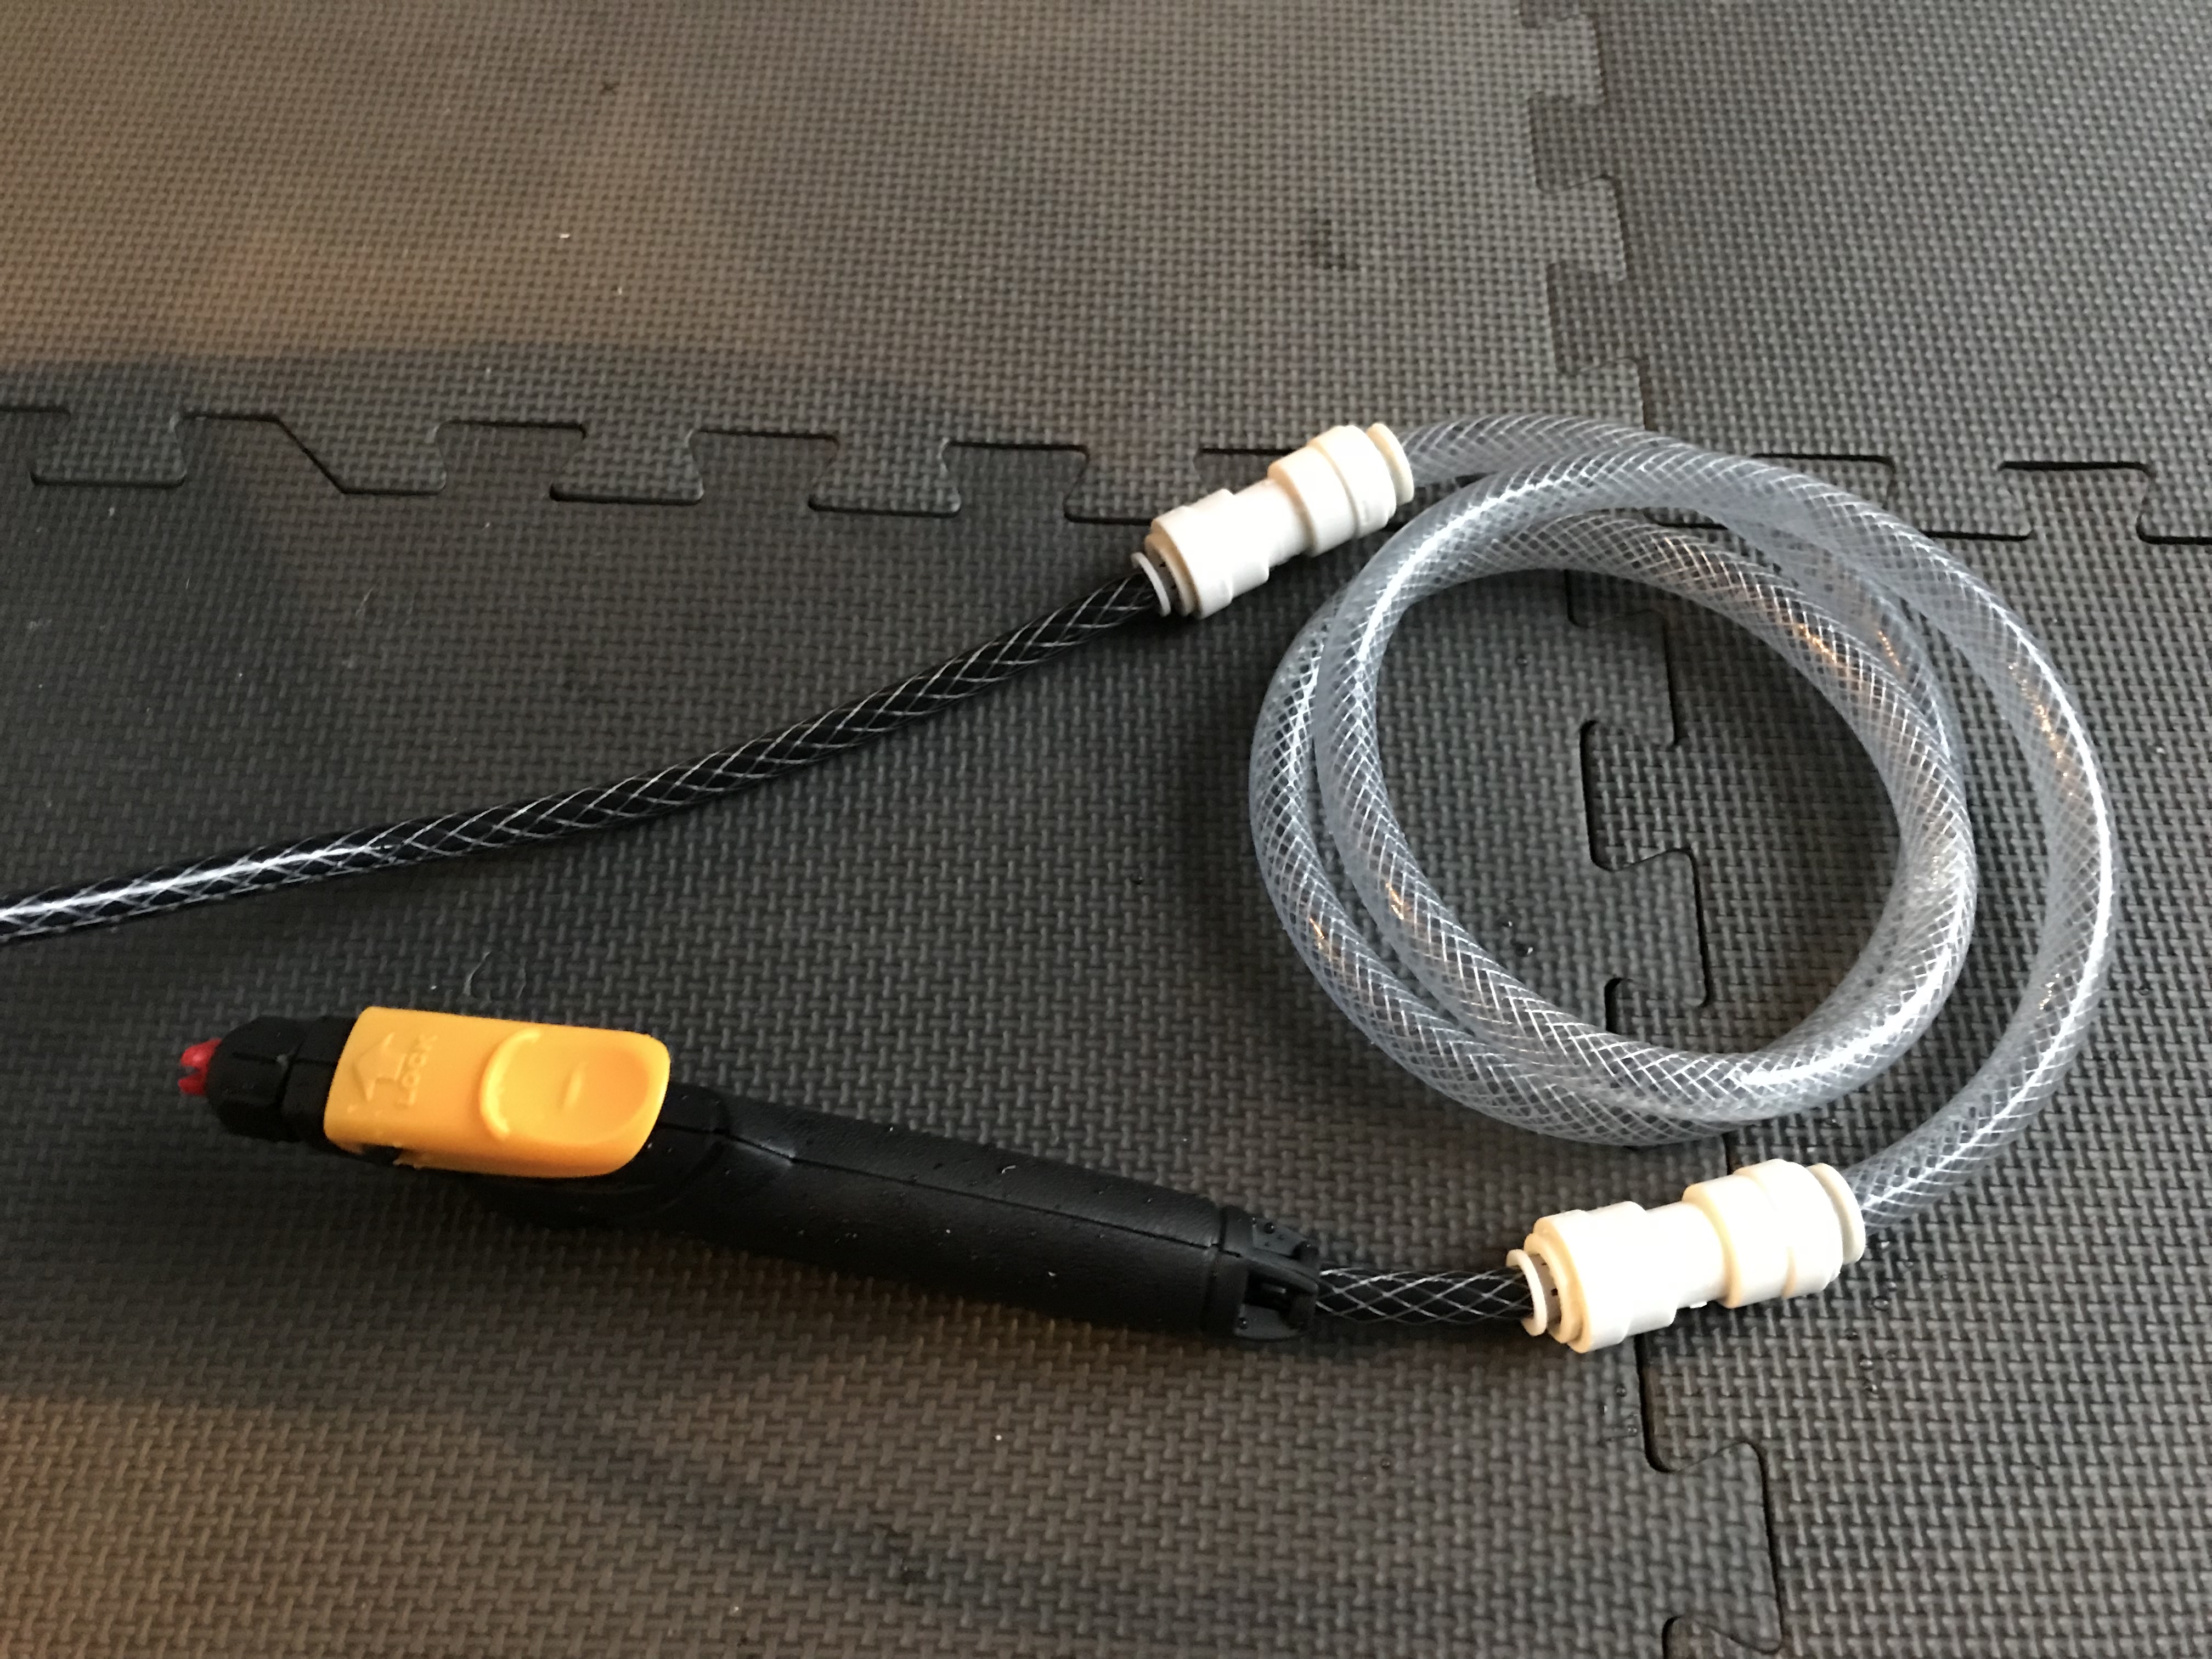
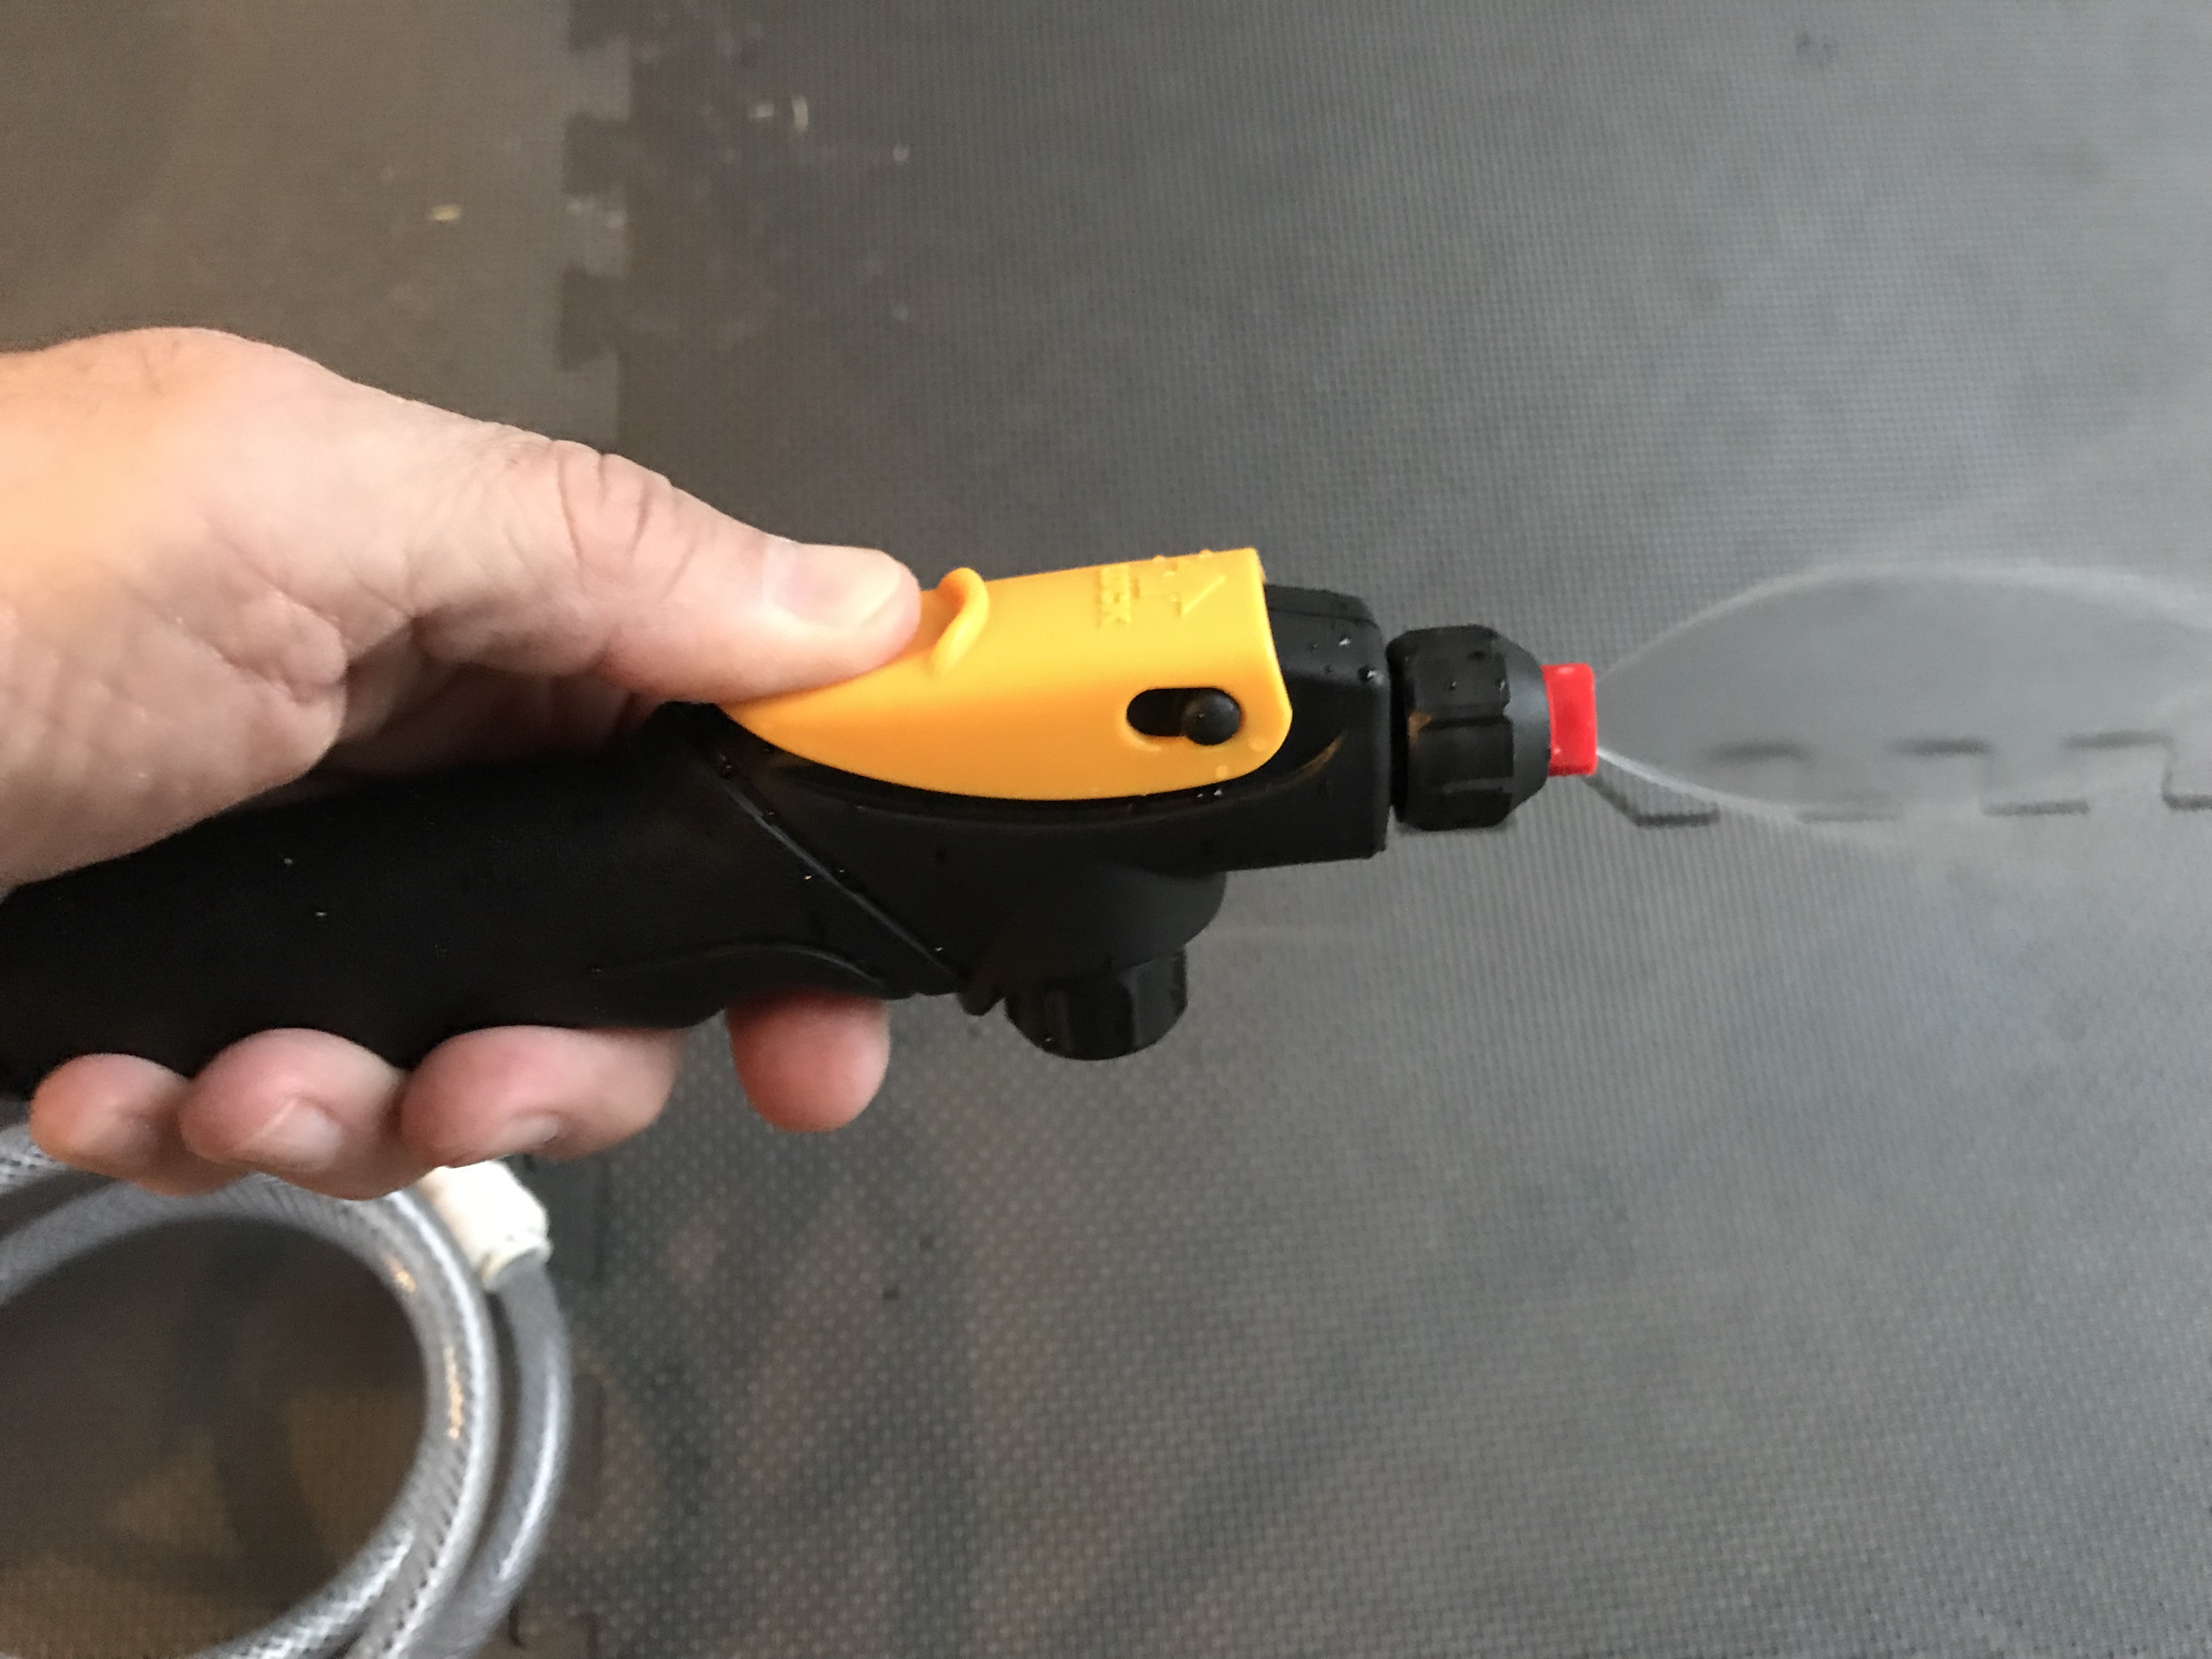
Life Straw | This is a must in case my hydration bag is compromised or I run out of water. This straw can safely filter water from most sources, although I would not use it in a water source that has been contaminated by agricultural runoff.
Emergency Poncho | A 99-cent poncho can mean the difference between staying warm and dry and possible hypothermia.
Toilet Paper | No explanation necessary.
 Knives | I carry two knives. My Bear Grylls knife has a partially serrated blade which can serve as a mini-saw.
Lights | I pack a Black Diamond headlamp plus a bright light stick.
Whistle I regard a good whistle as an essential part of a survival kit. This little item can be a lifesaver. The sound of a whistle can carry farther than the sound of the human voice.
Pepper Spray | I started carrying pepper spray when I thru-hiked the Lone Star Hiking Trail. It is a good idea to have it handy just in case you run into any ornery critters (or people) on the trail.
Monocular | I carry a monocular to scope out what is ahead, to look at wildlife, and for making sure I can find my way out of tight spots.
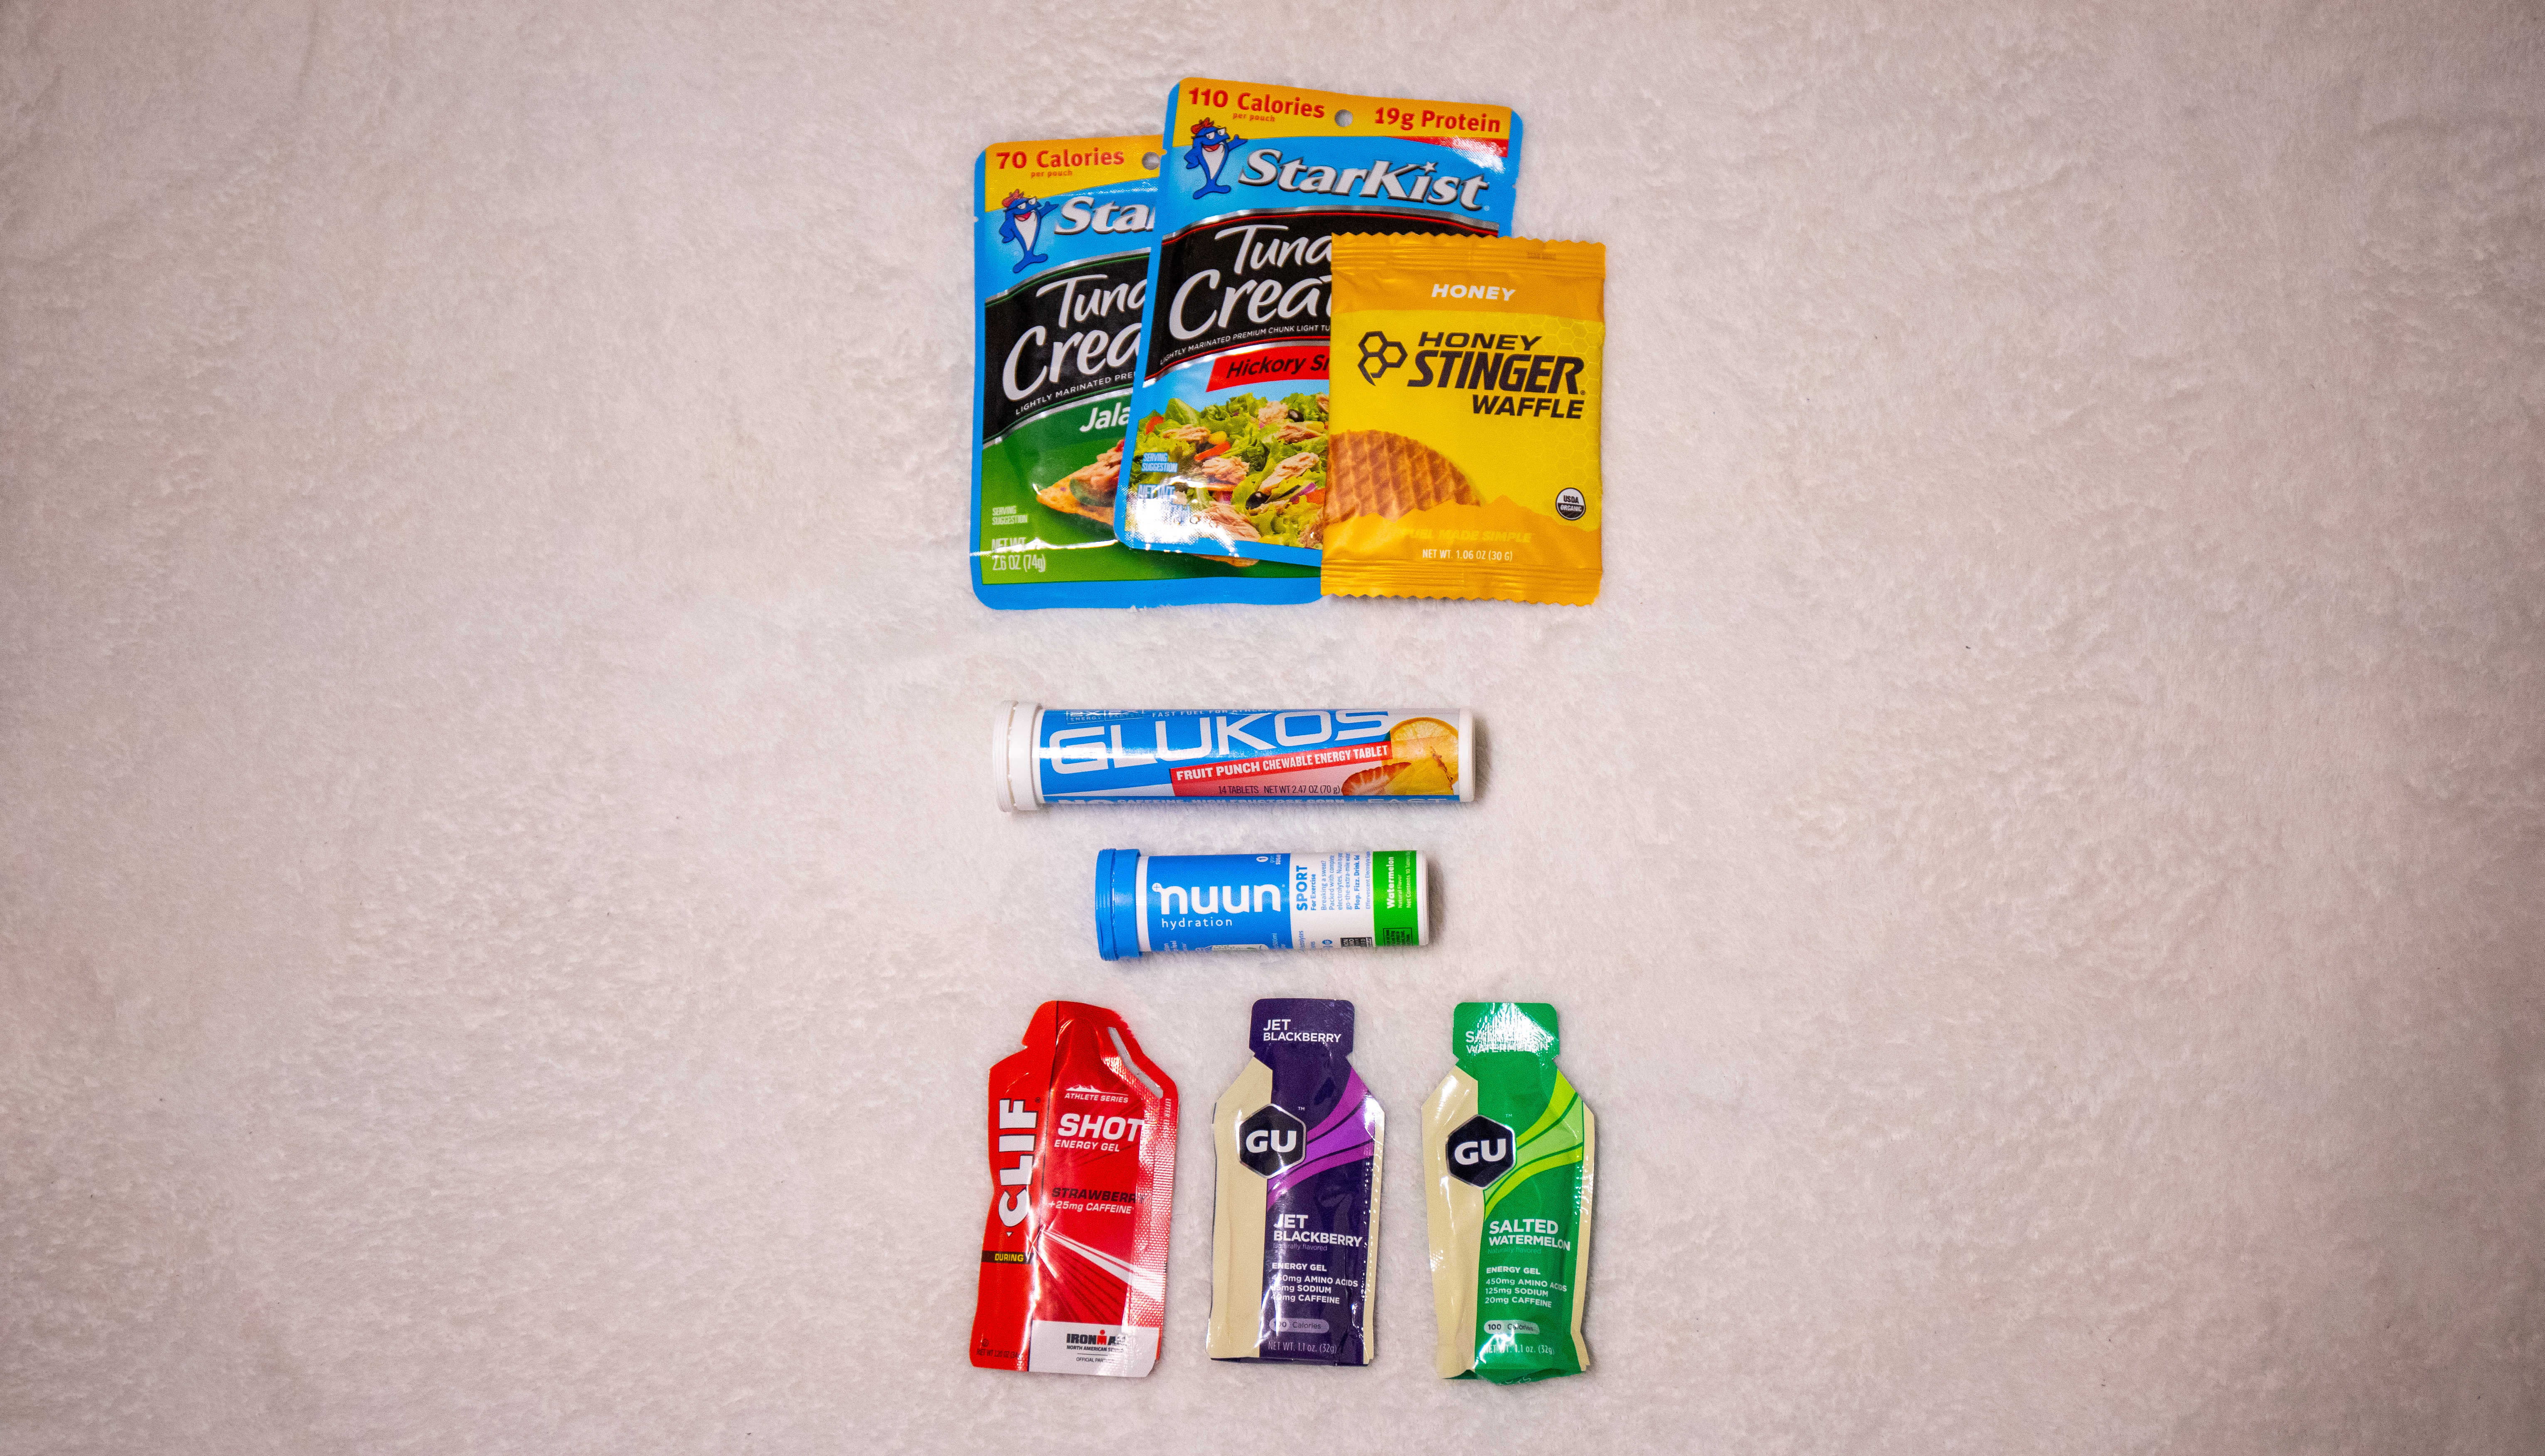 Trail Snacks | Trail snacks and goo packs are essential to carry on any hike. I also carry Nuun tablets to add some electrolytes to my water. I have encountered hikers who desperately needed an energy boost with whom I was able to share nutrition.
Trekking Poles | I also hike with trekking poles. They relieve a lot of stress on my aging joints, give me more stability on rocky terrain, can be used to fend off animals, and make excellent tent poles in an emergency situation.